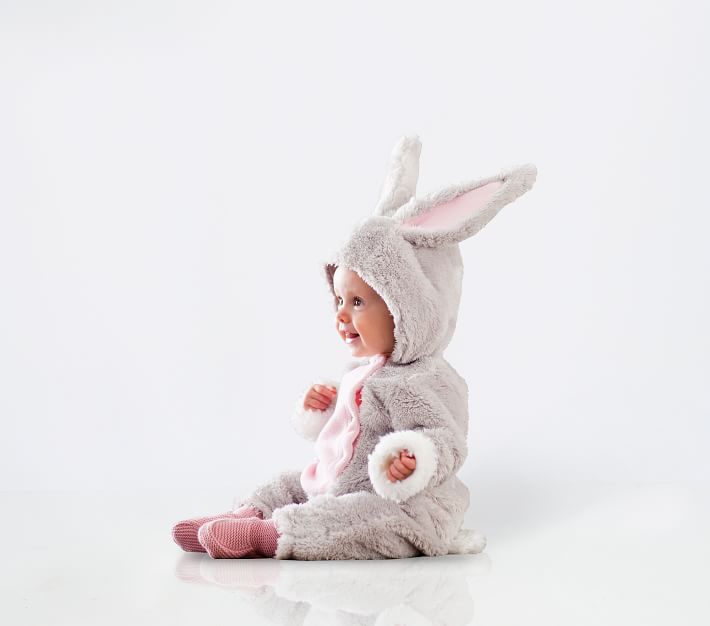
Being dressed like a bunny is a great way to ramp up your cuteness factor. If you’ve always wanted to appear like a rabbit, now is your chance. With this costume, you may sport the head, tail, and felt neckpiece. You’ll need an ash-colored set for your child. Cut out the pattern for the mask and bib from felt and glue it together. Make a huge pom out of white yarn for the tail. If you’re going to an all-girls party, you don’t have to dress like a bunny. You’ll get noticed in this hot bunny costume for sure.
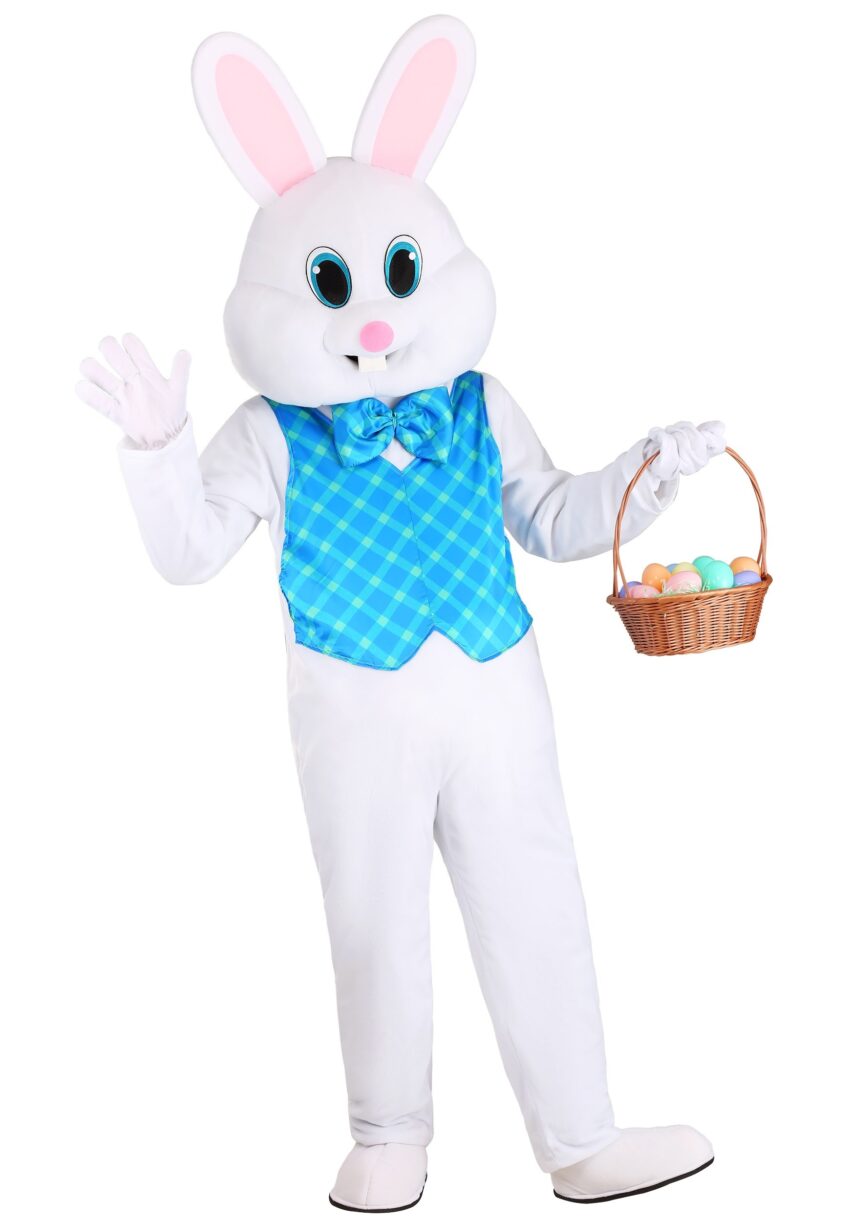
How to Make an Easter Bunny Costume for Yourself
Costumes that are simple to manufacture may be used for your party costumes, and the methods to do so aren’t difficult at all just visit Dhgate.com, they provide according to your needs and high-quality costumes with different styles and ideas.
1st Step: However, the DIY Easter Bunny costume begins with figuring out the dress’s dimensions (just a heads up the difficulty level for this costume is intermediate to difficult). The costume seen here was built for a 4-year-old kid; thus, your child’s size may be larger or smaller.
Your child’s chest should be measured around the underside of their armpits. For example, measurement A is the result of dividing this measurement in half and adding 2 inches for seam allowance. Measurement B is an additional 10cm in width for the bottom of the dress. Measurement C is the length from the center of their chest to the point where you want the dress to end, which is about mid-thigh. Create a form using these dimensions on a sheet of paper. Make a copy of the diagram by drawing a copy of the template component.
2nd step: Your Easter bunny costume’s straps are now ready for construction. Measure how long the straps need to be to overlap the front and back of the dress by about 2 inches by holding the inner dress pattern piece up to your kid. Cut a 7cm-wide template out of a piece of paper. With the templates, cut out an oval bunny belly that is 11 x 8 inches, two inner dress pieces, and four-star pieces. Leave the little straight edge of the strap unstitched. Trim away any extra fabric and cut a few notches along the curve when stitching is complete. It is then time to flip the strap over, push it and do it all over again. The next stage is to make the dress’s inside lining. Pin the right sides of the two lining pieces together along each side. A machine-sewn piece of cloth may be trimmed to remove the extra material.
3rd step: Make the dress’s outer layer now. Pin the tummy piece to the center of a piece of grey cloth that you’ve chosen. Machine sew the belly in place with a zigzag stitch. Right-sides-together, pin the two outer dress pieces and stitch along the two side edges.
4th Step: The outer dress has to be gathered now. Sew two parallel rows of stitching approximately 0.2 and 0.6 inches in from the edge of the outer dress’s top edge. Set your machine to its longest stitch length and avoid backstitching if you have it, use a stronger thread. Each end should be left with a lengthy spool of thread. Repeat around the dress’s hemline. Do this until the stitches start to gather evenly. Repeat the process with the next row of stitches below that.
Repeat the two rows of stitching around the dress’s base, collecting the fabric tilt to be as wide as the inner dress’s base. Lie the outer dress belly-down on a flat surface, right sides facing up. Make sure the curved ends of the two straps are pointing down towards the dress’s bottom hem. They should be separated by around 10 centimeters from the center. Make sure that around 2cm of fabric extends over the top of the dress, and then pin it in place.
5th Step: Line up the side seams of the outer dress with those of the inside garment before putting them together. Pin in place the dress top’s inner and outer borders after lining them up all around. Using your sewing machine, sew a circle around the top of the dress, stopping about an inch below the fabric’s edge to sew beyond the two rows of gathers. Trim the surplus fabric while keeping the correct sides facing each other than using fabric manipulation, line up both dresses’ top edges so you can’t tell which is which. Keep this edge clean by pressing it with an iron.
Remember to bring down a little amount of inner dress so that it lines up with the outer dress’s hemline before you begin pinning down the inner dress’s bottom edge. Pin the garment from top to bottom. Then, using a sewing machine, complete the project. You may skip the second row of gathered stitches by sewing around 1 inch from the edge of the garment. It’s time to get rid of this unnecessary stuff.
The puffball look may be achieved by manipulating the fabric such that the top borders of the dress are aligned with the inner dress’s bottom edges. Press a 2-inch section of the loop onto the garment. All that’s needed to complete your homemade Easter bunny attire is the fluffy tail. You may remove the tail if it’s a little too tight while you’re sitting down by using Velcro Brand Fabric Tape. Ten circles of white fleece, each about 5.5 inches around, should be cut. A few stitches at the tip of each circle will keep the layers in place as you sew them together. Form a circle by combining four folded circles. These may be put together by hand. Repeat with four more circles, then stitch each pair together. Make a fluffy tail by sewing the last two folded circles to the top of the stack, opening each round a bit. Finally, your child’s homemade Easter Bunny costume is complete and ready to be worn at all of your springtime gatherings.