Looking for the best AIO watercooling? Are you hesitating between liquid cooling or a cooler? Between a 120, 240, or even 360mm AIO Cooler? With or without RGB effects? You are on the right page.
We invite you to discover a selection of the best current kits, with a comparison regularly updated according to the latest news. From $50 to over $300, each player should be able to find an All-in-One suited to their configuration.
To help you in your research, you will also find a complete buying guide as well as our answers to your most frequent questions.
How Water Coolers Work
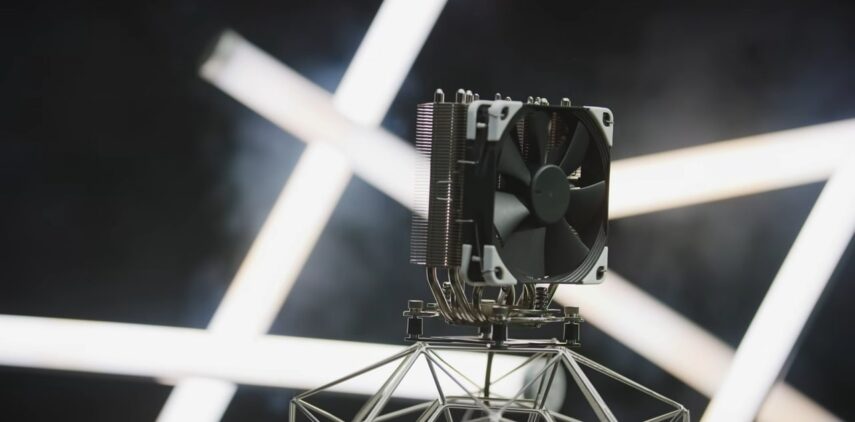
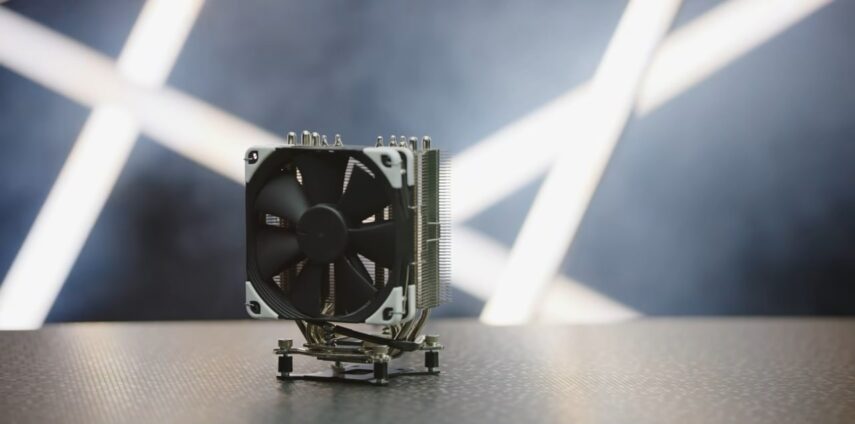
On a cooler, the heat produced by your processor is transferred to the heat sink using copper heat pipes and then extracted via the fan (s) mounted on the block.
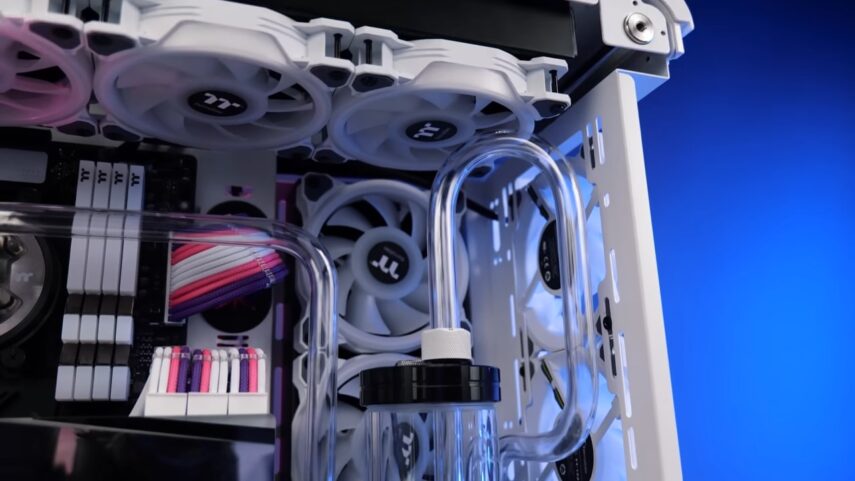
With water cooling, it’s a different story! Integrating a closed liquid circuit, the system is made up of four main elements:
A water block
This is the part that will be attached to the processor and the socket of your motherboard. In particular, it incorporates a pump allowing water to circulate within the system.
A radiator
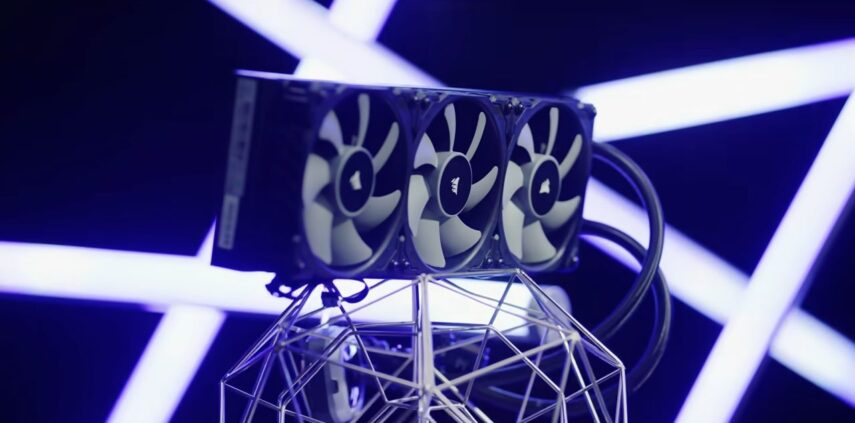
Attached to one of the facades of your box, the radiator will have the task of recovering the heat accumulated in the water of your system. There are 120 mm, 240 mm, 280 mm, or even 360 mm radiators.
Fan
As on a cooler, these are fans that will take care of extracting the heat accumulated by the radiator of your AIO kit. There are one or more fans depending on the size of the radiator. Generally in 120 or 140 mm depending on the model.
Pipes
Finally, pipes take care of conveying the water of your water-cooling between the various elements presented above.
To illustrate this operation a little more, the diagram below will probably be more telling:
We also invite you to watch the following video, which shows the complete disassembly of a broken water cooling kit. What to discover some interesting details concerning the operation of these cooling solutions.
What dimensions for my AIO watercooling?
Watercooling kits are segmented according to the size of their radiator. There are generally four dimensions:
120 mm AIO Coolers
The most compact watercoolers. They are especially recommended for moderately powerful configurations or for those with a Mini-ATX / Micro-ITX case.
240 mm AIO Coolers
Twice the size of the 120 mm watercoolers, they allow efficient cooling of most configurations and adapt to the majority of “Medium Tower” boxes.
280mm AIO Coolers
Slightly longer and wider than the 240mm models, the 280mm water-cooling kits come with two 140mm fans to further improve cooling while reducing noise pollution.
360mm AIO Coolers
These are usually the biggest kits offered by builders. It will be necessary to check that your box has sufficient spacing to be able to install them. They are recommended for players doing heavy overclocking.
Clearly, choose according to the needs of your processor, and especially remember to check the compatibility with your box. In general, the larger the radiator, the better the cooling performance.
Compatibility with your socket
Remember to check the compatibility of the water block with the socket of your motherboard. If most manufacturers offer kits to adapt their products to the majority of current processors, it is better to double-check.
As a reminder :
- Intel Coffee Lake – Socket LGA 1151 V2
- Intel Sky Lake/KabyLake – Socket LGA 1151
- AMD Ryzen – Socket AM4
Performance and TDP
As with coolers, your water-cooling solution must first be selected according to the needs of your processor. If you have a setup under $ 500, you probably won’t need a 240mm kit! Conversely, if you are more the type to want to explore the benchmarks, opt for a 280 or 360 mm kit in order to cool your CPU as well as possible.
Read also: Best CPU For Gaming
What is the budget for an AIO water cooler?
First of all, keep in mind that at equal performance, a water cooling kit is generally much more expensive than a conventional cooler. The first prices start around 50 € and are not necessarily more efficient or quieter than their air counterparts.
By moving up a bit, with models between 60 and 100 €, we generally achieve the performance of a medium/high-end cooler without benefiting from their silent use.
Between 100$ and 150$, we reach the high end of the sector. These kits offer excellent performance in terms of cooling while offering fairly quiet use (especially on models incorporating two 140mm PWM fans).
Finally, the best water-cooling kits are negotiated for around 150/200$. These are typically 360mm models, offering an ideal compromise between cooling performance and quiet operation. These models often incorporate additional features, such as customizable RGB lighting.
In which direction to mount your water cooling?
The radiator of a water cooling can be mounted on the front, back, or top of your PC case. The choice will be made according to the mounting possibilities offered by your tower, the size of your radiator but also by the various components already in place.
The direction in which the fans are mounted may also play a role in the temperatures of your processor. Several configurations are possible:
- Push: The flow of fresh air is pushed by the fans to the radiator
- Pull: The hot airflow is sucked by the fans from the radiator
- Push / Pull: The combination of the two methods. A fan pushes the cool air towards the radiator and a second pulls the heated air out
If the Push / Pull configuration is generally the most efficient, it is rarely used for a traditional gaming PC and requires doubling the number of fans. It is often quite noisy and unattractive.
Typically, most gamers go for a Pull configuration where hot air will be extracted from the radiator and then incorporated into the airflow of your case. Do not hesitate to test several configurations depending on your case in order to obtain the best possible temperatures.
Build quality
Not all kits are created equal and in addition to performance or design, the quality of the finishes can play an important role in your research. Some entry-level models may have screws that are not always very reliable and mounting solutions that lack intuitiveness.
To get a better idea before going to checkout, do not hesitate to consult complete tests detailing the assembly of the different kits. Also, check out the feedback from other users who already have the product.
The maintenance of an AIO water-cooling kit
Unlike do-it-yourself solutions, “all-in-one” water-cooling kits have the advantage of not require any maintenance. The models are designed to run for many years and you don’t have to change any oil.
We still recommend that you take a quick look at your installation regularly and check that the assembly remains perfectly waterproof. If in doubt, avoid taking risks and replace your solution, a leak that could be catastrophic for the rest of your components.
Note also that it is not recommended to disassemble the components of your water-cooling kit, your reassembly cannot guarantee its perfect sealing again.
What about custom water cooling?
If this article focuses on AIO water-cooling solutions, “purists” generally opt for much more customizable solutions: custom kits.
In this configuration, the user will constitute the various components of his loop in order to set up cooling that perfectly meets his needs. Much more complex to set up and requiring regular maintenance, it will be necessary to choose its water block, pipes, tank, radiator, fans or even its various fittings.
FAQs
1. Do all CPU coolers fit all cpus?
No, not all CPU coolers fit all CPUs. Factors such as the size of the CPU, the type of cooling system, and the orientation of the CPU socket will dictate which coolers are compatible with a given CPU. For example, Intel LGA 1151 processors use a different kind of cooler than AMD AM4 processors.
2. Do you need an expensive CPU cooler?
If you’re wondering whether you need an expensive CPU cooler, the answer is probably no. A good quality air cooler will be more than sufficient for most people’s needs. However, if you’re a heavy PC user or gamer, you may want to invest in a high-end water cooling system. Water cooling is more efficient at dissipating heat, which can give your PC an edge when overclocking or running demanding applications.
3. How to properly install a CPU cooler?
Installing a CPU cooler is not as difficult as it may seem. In fact, with a few simple steps, you can have your CPU cooler up and running in no time. Here’s how to properly install a CPU cooler:
- Begin by unplugging your computer from any power source. This is to ensure that you do not accidentally short circuit anything while working inside of your computer.
- Next, remove the side panel of your computer case so that you have access to the inside of your machine.
- Locate the CPU socket on your motherboard. This is where you will be installing the CPU cooler.
- Before proceeding any further, take a moment to check that the socket type on your motherboard matches the type of CPU cooler that you have purchased. If they are not compatible, do not attempt to force them together as this could damage both components.
- Once you have confirmed that the socket types are compatible, gently remove the protective cover from the top of the CPU socket (if present). Some motherboards will have a plastic or metal cover protecting the pins in thesocket; if this is the case, be careful not to lose any of these small pieces as they can be difficult to replace.
- With the protective cover removed (or absent), align the base of the CPU cooler with the socket and gently lower it into place. Be careful not to force it, as this could damage boththe cooler.
4. Can a CPU cooler damage a motherboard?
If you’re wondering whether a CPU cooler can damage your motherboard, the short answer is yes. If the cooler is not properly installed, it can come into contact with the motherboard and cause physical damage.
In addition, if the cooler is not compatible with the motherboard, it can cause electrical shorts that can damage the motherboard. That being said, as long as you take care when installing your CPU cooler and make sure it’s compatible with your motherboard, you should be fine.
Final Words
Choosing a CPU cooler can be a daunting task, but with the right knowledge and information, it doesn’t have to be. We hope this guide has provided you with all the necessary information you need to make an informed decision when it comes to selecting the best water cooler for your needs.
When shopping for a CPU water cooler, always keep in mind your budget, cooling capabilities, noise levels, size and installation complexity. With these tips in mind you are sure to find the perfect water cooler that fits your needs!